
眠るシーラカンスと水底のプログラマー
Winodws Phone, Windows, EC-CUBEの情報を発信します前回Windowsストアアプリ+MvvmCrossでページ遷移を行うサンプルを紹介しました。
今回は同一プロジェクトを用いて、Androidのページ遷移を実装しましょう。
ポイントはPCLのプロジェクトは全く触らずにAndroidでもページ遷移が実現可能な点です。
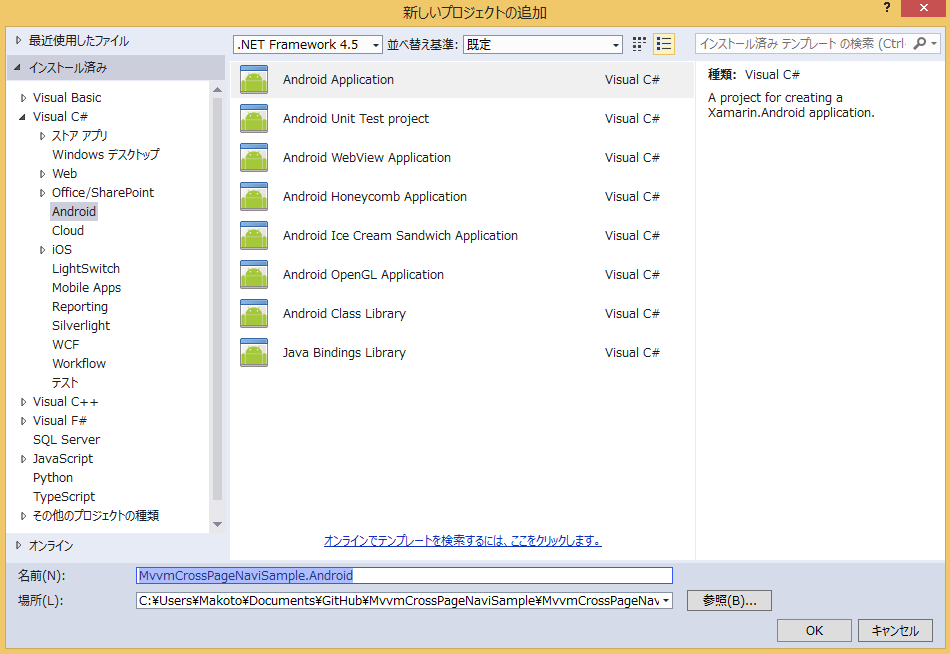
1.Androidプロジェクトの作成
今回作成するプロジェクトはXamarinで作成します。
新規プロジェクトでXamarin.Androidプロジェクトを追加します。
2.MvvmCrossの追加
NuGetからMvvmCrossを追加します。
パッケージは今回もMvvmCross(MvvmCross – Hot Tuna MvvmCross Librariesではなく)を選択します。
MvvmCrossを選ぶことでViewsフォルダやFirstView.csなど参考になるものが追加されています。
3.MainPageView.csの追加
AndroidプロジェクトのViewsフォルダにMainPageView.csを追加します。
ViewsフォルダにあるFirstView.csを参考以下のように作成します。
using Android.App;
using Android.OS;
using Cirrious.MvvmCross.Droid.Views;

namespace MvvmCrossPageNaviSample.Android.Views
{
    [Activity(Label = "View for FirstViewModel")]
    public class MainPageView : MvxActivity
    {
        protected override void OnCreate(Bundle bundle)
        {
            base.OnCreate(bundle);
            SetContentView(Resource.Layout.MainPageView);
        }
    }
}
Resources\layoutフォルダにMainPageView.axmlを追加します。
<?xml version="1.0" encoding="utf-8"?>
<LinearLayout xmlns:android="http://schemas.android.com/apk/res/android"
    xmlns:local="http://schemas.android.com/apk/res-auto"
    android:orientation="vertical"
    android:layout_width="fill_parent"
    android:layout_height="fill_parent">
    <Button
        android:text="Button"
        android:layout_width="match_parent"
        android:layout_height="wrap_content"
        android:id="@+id/button1"
        local:MvxBind="Click pageNavigate" />
</LinearLayout>
Commandは「local:MvxBind=”Click pageNavigate”」のように指定します。
これで作業は完了です。
デバッグ実行するページ遷移が確認できると思います。
このようにViewModelを綺麗に共有できると、嬉しいですね。
そうじゃない場合が、どう書くかが課題なのですが・・・
Please give us your valuable comment